How to enable DKIM for Office 365 via Powershell
If you are trying to enable your Office 365 but there is no button to do so, what do you do ? This is quite a common issue affecting certain tenants. The only way for you to enable it is via Powershell.
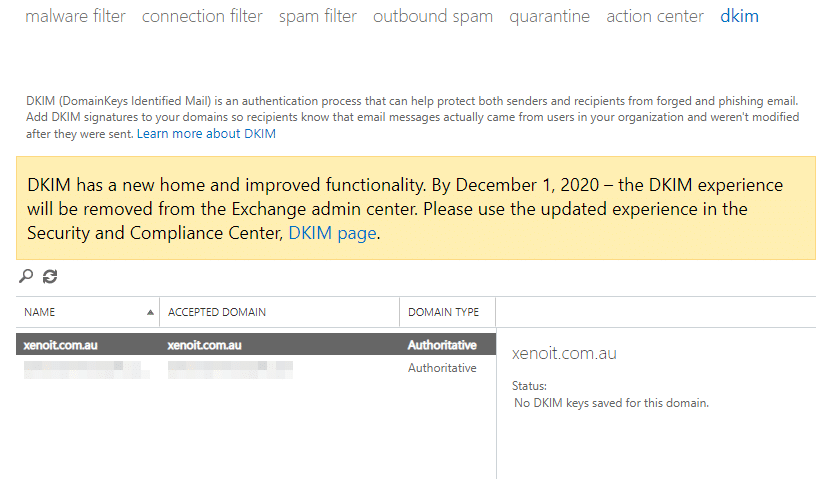
Currently the DKIM function is being moved to the Security and Compliance Center. But again, if you don’t see the button, then Powershell is where you have to go.
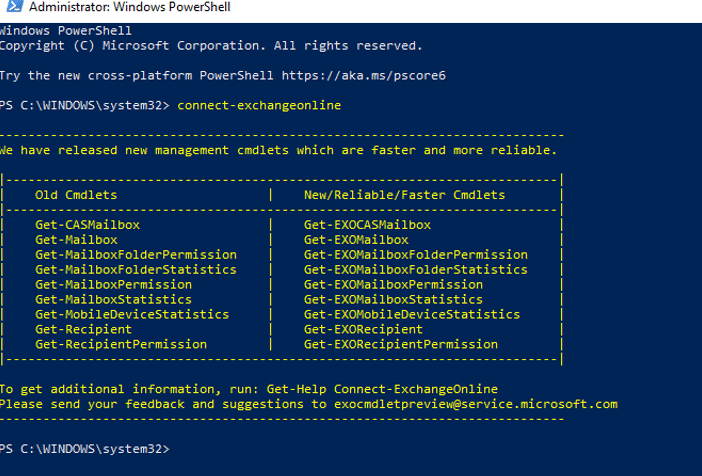
Steps is fairly easy, just fire up your powershell but make sure you run it as administrator. Then use the Exchange shell V2 by typing Connect-ExchangeOnline , assuming that you’ve already installed that module. This module makes things a lot easier without the need of keying in the whole URI.
Once you are connected to Exchange Online, type in New-DkimSigningConfig -DomainName Yourdomain.com – Enabled $true
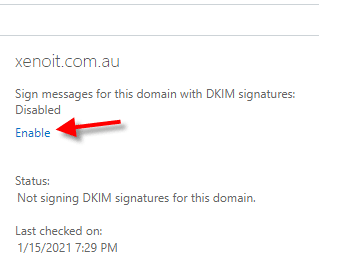
You might see the following but this would make the previously missing “Enable” button to magically appear on the Exchange admin console

But it’s not done yet. You will need to create a CNAME for your domain with those CNAME values you’ve gotten from the Powershell
If you have already pointed your domain’s NS records to O365 then the next step is easy. Just make sure to create the CNAME according to the following screenshot with the values you’ve gotten from powershell

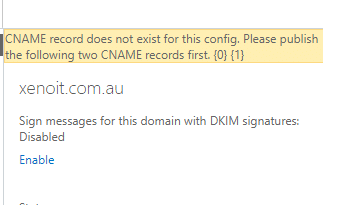
If you miss out the CNAME creation step, you will see the following error when trying to enable DKIM.
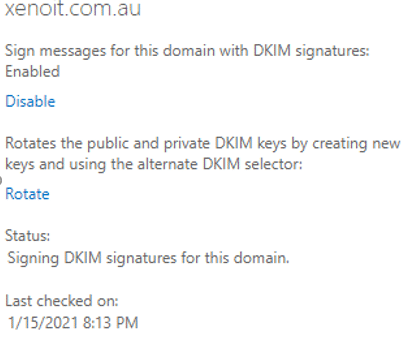
Once your CNAME records are propagated, you can then proceed to click on the Enable button or just re-run the powershell command, whichever suits you. If everything is correct, then you will be seeing this
Easy peasy!